
This guide explains how to create a new role within the Skill Catalog. This function is only available to users with Skill Catalog Admin rights.
Navigate to the Roles Section & Click on “+ Add a role”
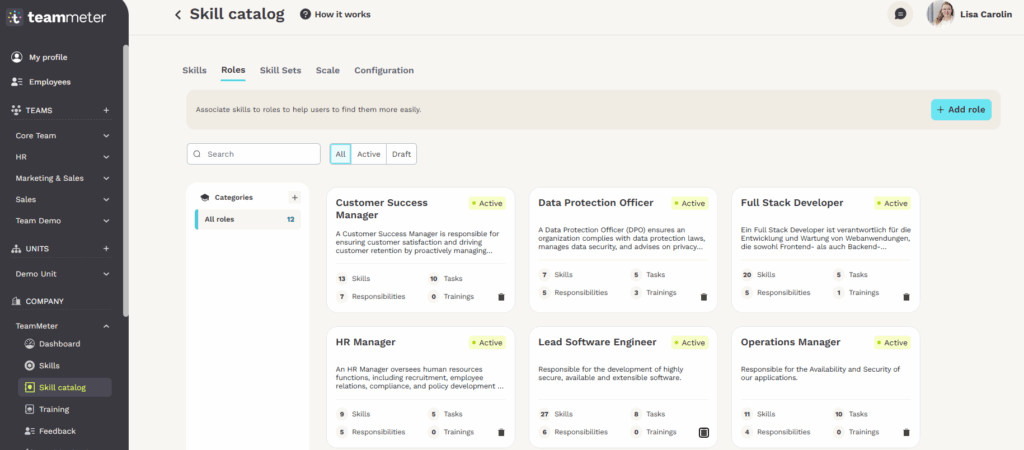
Go to Company Area > Skill Catalog > Roles.
To create a new role, select the + Add a role button at the top right.
Define the Role: Name, Skills, Tasks, Responsibilities and Trainings
Start by entering the basic information:
- Name: Choose a specific title for the role. You can include thematic focus areas or seniority levels such as Junior, Advanced or Senior.
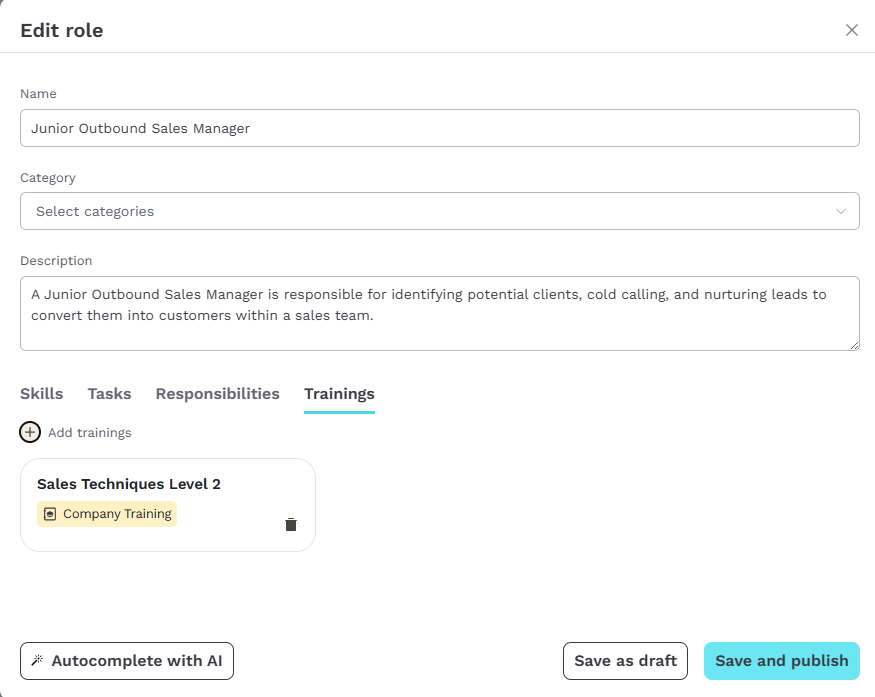
Example: Junior Outbound Sales Manager illustrates how precisely the AI can generate role profiles. - Category: Optionally, assign the role to a category.
- Description: Provide a clear summary of what the role involves.
Then continue by completing the tabs below. We strongly recommend using the AI support (Pro feature) to automatically generate skills, tasks and responsibilities. You can review and edit all suggestions before publishing.
Skills
Use the AI autocomplete to generate a relevant list of skills for the role. You can add or remove suggestions as needed. You can also add skills manually.
Enable skill levels to define expectations per skill and ensure company-wide transparency.
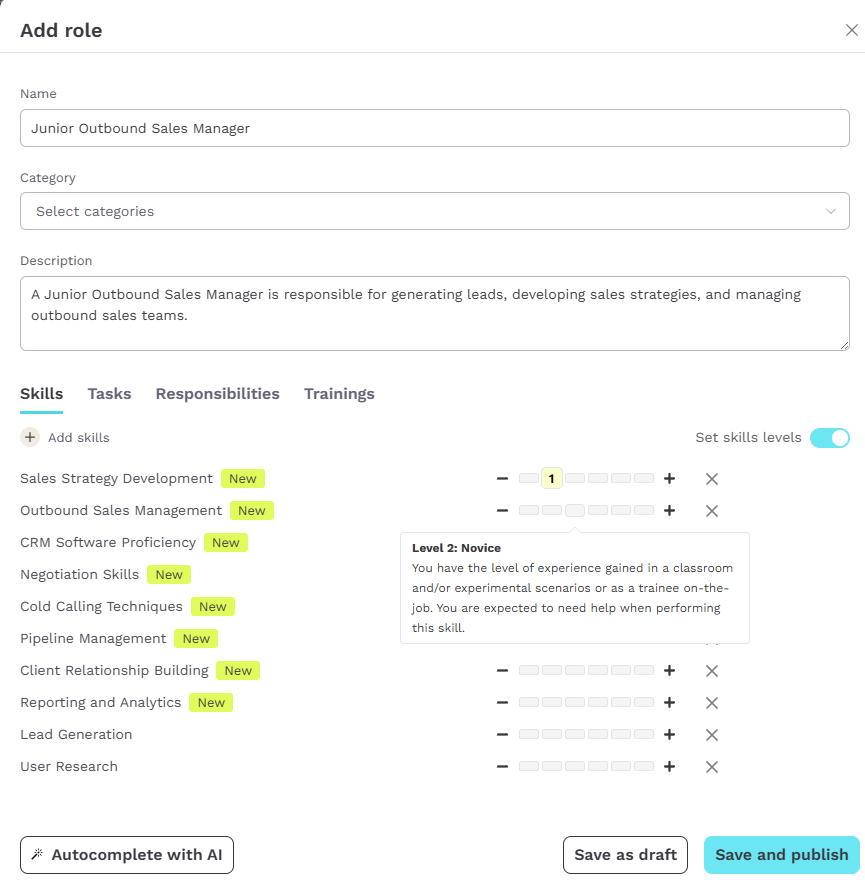
Tipp: Newly created skills are marked as “new” and will be added to the company’s skill catalog once the role is saved.
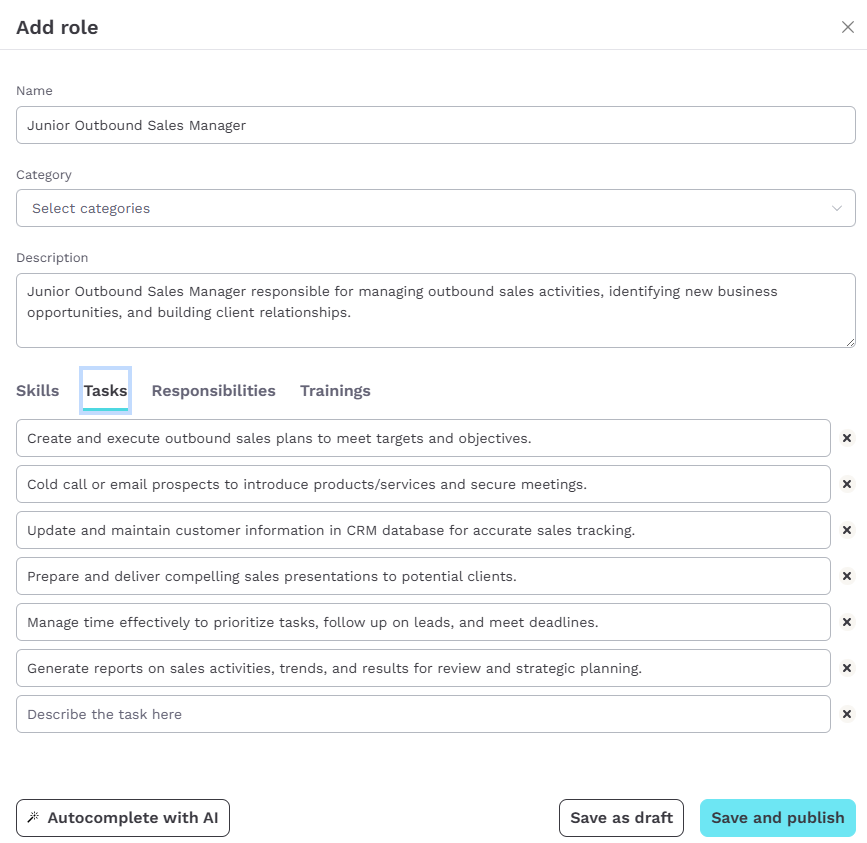
Tasks
Use the AI to propose typical tasks for the role. All suggestions can be adjusted at any time.
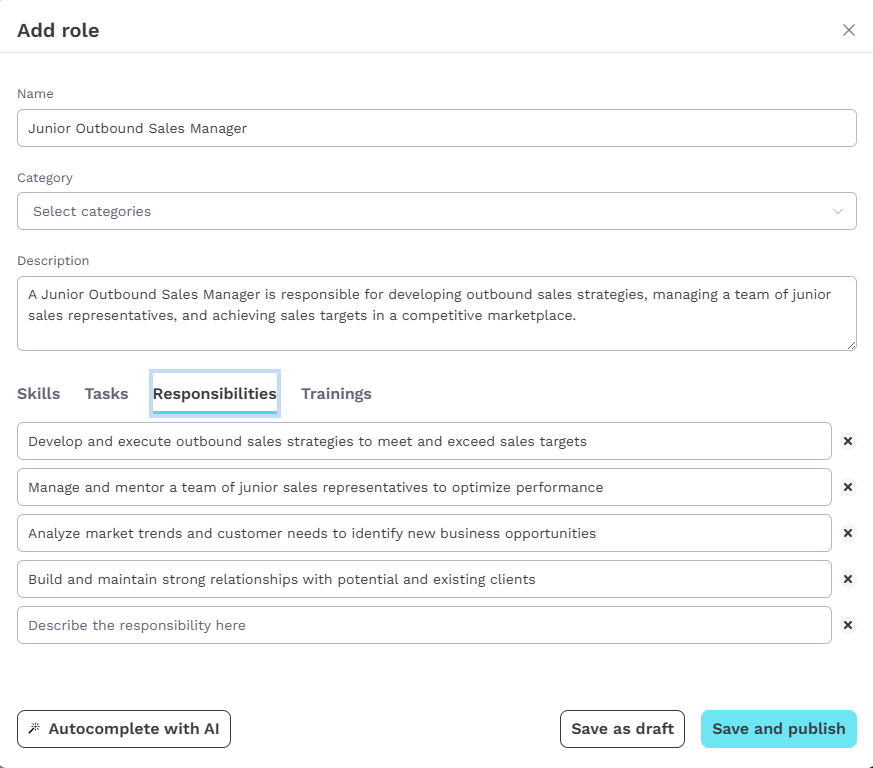
Responsibilities
Let the AI suggest key responsibilities. You can revise or extend them to match your expectations.
Trainings
You can link the role to internal training programs. Go to the Trainings tab, click + Add trainings, and select relevant items from your training catalog.
Save or Publish
- Use Save as draft to continue editing later.
- Use Save and publish to make the role available for all users in the company.
This makes the role visible and selectable in other areas of the platform.